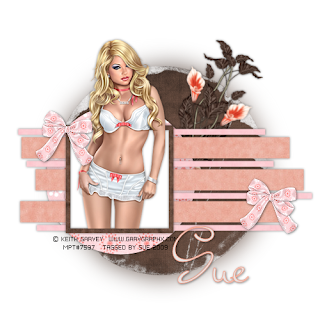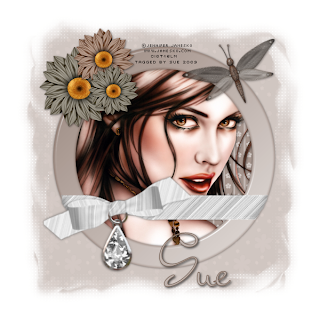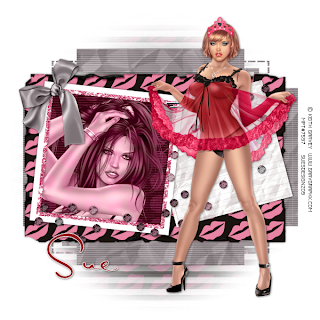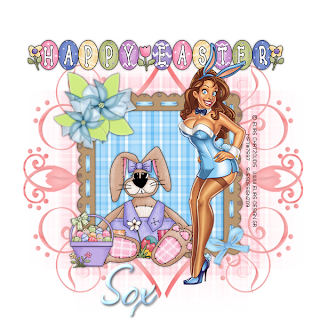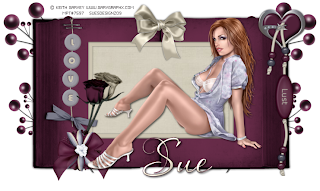
This tutorial was written by me on 24th January 2009
Any similarities to other tutorials are completely coincidental
and unintentional. I try and keep my tutorials as simple as
possible, but they are written assuming you have a good
working knowledge of PSP and Animation Shop
SUPPLIES NEEDED:-
Dreamer scrapkit from Bluedream Designs HERE
Mask 55 from Enchanted by Darkness HERE (contained in zip 6)
Xenofex constallation (optional)
4 tubes of choice from the same artist. I used the gorgeous artwork
of Keith Garvey. You must have a licence to use his work which you can
purchase HERE. Please do not use the same tubes if you do not hold a licence!
This one is quite long winded but it's not as difficult as it sounds!
Ready? Then let's get started :)
Make sure your mask is minimized in PSP
1. Open a new image 600 x 600 and floodfill white. Copy and paste a paper of choice
from the kit as a new layer. Go to layers, new mask layer from image. Select EBDMask55
from the dropdown and apply, making sure source luminance is checked. On the layers pallette
delete the mask layer and answer yes to the box that pops up. Then highlight the layer that says
"group", right click and ungroup layers. Resize the mask layer by 105%. Then go to effects, texture effects, mosaic glass with the following settings:-
Columns and rows - 50
Glass curvature & edge curvature - 0
Grout width - 5
Grout diffusion - 45
Symmetric checked
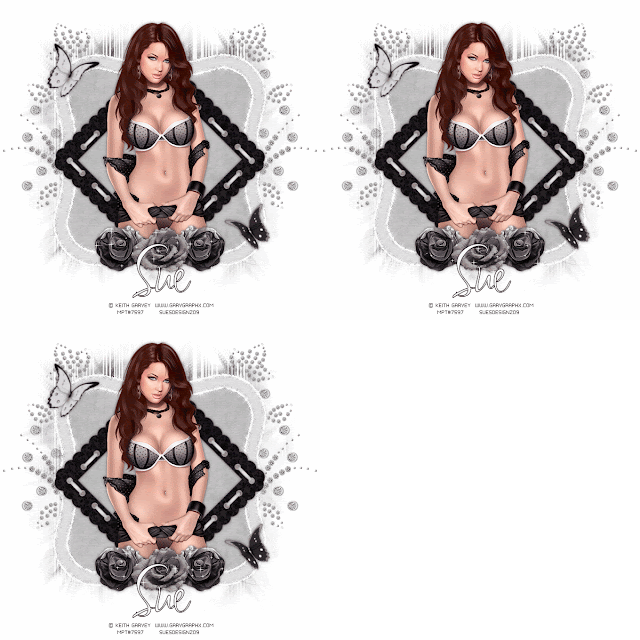
2. Copy and paste BD Dreamer frame 4 as a new layer. Resize by 90% and add
a small dropshadow of 0, 0, 50, 5
3. Hold down the shift key, then using your magic wand select inside all the
areas of the frame. Go to selections, modify and expand by 10. Keep selected.
Copy and paste a paper of choice as a new layer then go to selections, invert and hit
delete on your keyboard. Deselect and drag below the frame layer
4. Highlight the frame layer and using your magic wand select inside the first
square of the frame. Selections, modify and expand by 5. Keep selected and
copy and paste one of your tubes. Position inside the frame then go to selections,
invert and hit delete on your keyboard. Repeat this step for the other three
squares using different tubes from the same artist. Drag the frame layer above
the tube layers. Merge the four tubes together and add a dropshadow
5. Copy and paste BD Dreamer flower 6 as a new layer. Resize by 70% and add
a dropshadow. Place in one of the corners of your frame. Duplicate the flower layer and
place go to image, mirror, image flip
6. Copy and paste BD Dreamer pendant as a new layer. Resize by 40% and add
a dropshadow. Place at the top of your tag and use your eraser tool to carefully
erase part of the metal ring so it looks as though the pendant is looped over the frame
7. Copy and paste one of the buttons as a new layer. Resize by 30% and add a
dropshadow. Place in the corner of the frame. Duplicate the button and place the
second one in the other corner
8. Add your name and copyright. If you are going to animate your tag follow the
instructions below, if you are not then you are now finished and can save your tag as
a PNG file
TO ANIMATE:-
1. Duplicate your frame layer twice so you have a total of three frames. Rename them frame 1,
frame 2 and frame 3.
2. On frame 1 apply xenofex constellation with the following settings:-
Star size 2.00
Size variation 43
Edge star density 50
Overall star density 0
Overdrive 88
Twinkle amount 100
Twinkle rotation 45
Keep original image
Random seed 1
3. On frame 2 apply the same settings but hit the random seed button once
4. On frame 3 apply the same settings again but hit the random seed button once
5. Hide frames 2 and 3. With frame 1 highlighted go to edit, copy merged and paste into
animation shop as a new animation
6. Back in PSP hide frame 1 and unhide frame 2. Making sure frame 2 is highlighted go to
edit, copy merged. In animation shop go to edit, paste after current frame
7. Back to PSP again and hide frame 2 and unhide frame 3. With frame 3 highlighed go to
edit, copy merged. In animation shop go to edit, paste after current frame
8. View your animation in animation shop and save as a GIF file
That's it all done!
Thanks for trying my tutorial